Für das Projektmanagement interner und externer Projekte, nutzen wir das Modul Projekt.

Je nachdem mit welcher Company man angemeldet ist, werden alle Projekte (in der Holding) oder nur die Projekte der jeweiligen Firma angezeigt (alle anderen Companies).
Projekte anlegen
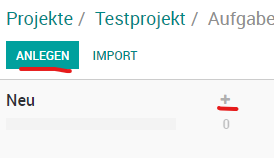
Über den Button „Anlegen“ links oben, können Projekte angelegt werden.
Im sich öffnenden Fenster einfach den Namen des Projektes eingeben und falls gewünscht eine Projekt-E-Mail-Adresse. Durch diese können via Mail Aufgaben automatisch im Projekt angelegt werden.
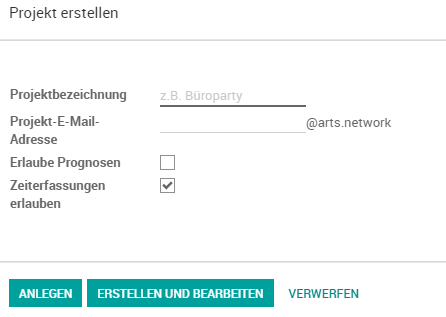
Klickt man „Anlegen“ wird das Projekt erstellt und man gelangt zurück in die Gesamtübersicht. Klickt man „Erstellen und Bearbeiten“, gelangt man direkt in das erzeugte Projekt.
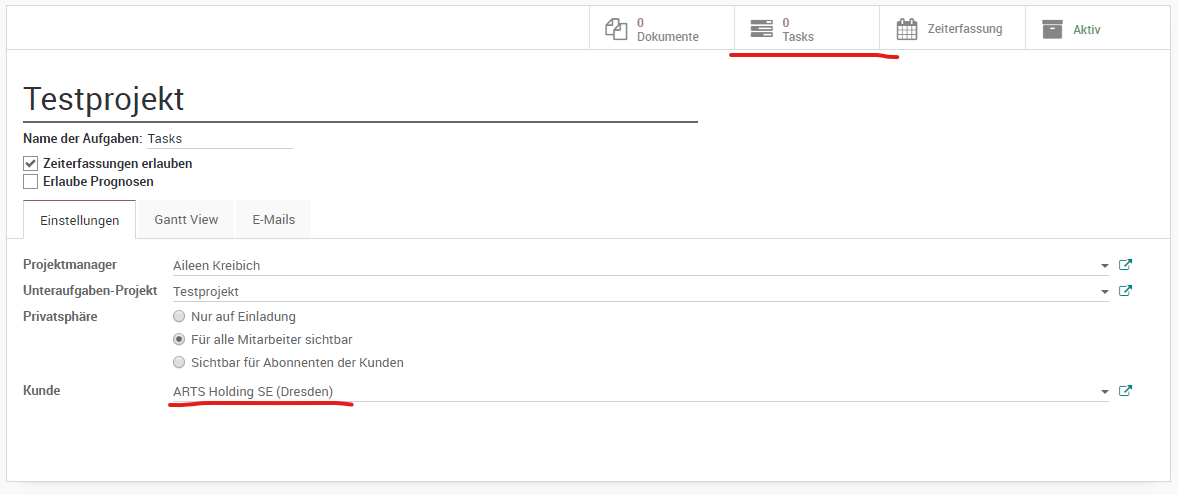
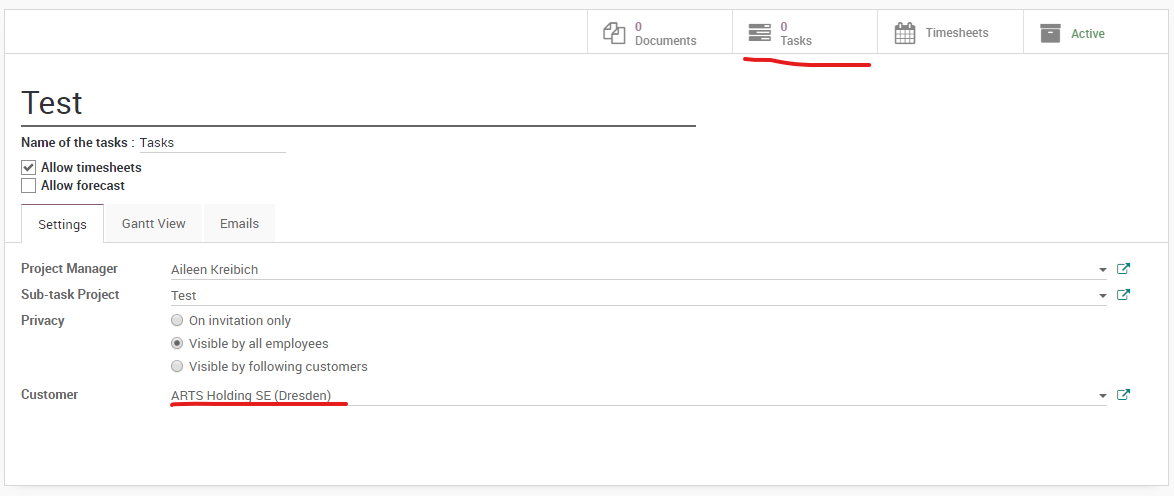
Hier bitte den Kunden des Projektes auswählen. Es gibt 3 Arten von Projektkunden:
Externes Kundenunternehmen: Name eingeben und auswählen. Gibt es den Kunden noch nicht, dann bitte anlegen und im Kontaktmodul alle Daten pflegen
Internes Kundenunternehmen / Intercompany Projekt: Name eingeben und auswählen
Internes Projekt: Name der Firma eingeben, mit der man das Projekt erstellt hat. Ein internes Experts-Projekt beispielsweise hat den Kunden ARTS Experts.
Über die Schaltfläche „Tasks“ gelangt man zur Aufgabenübersicht.
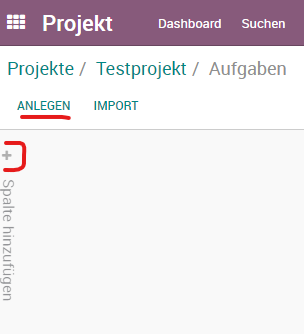
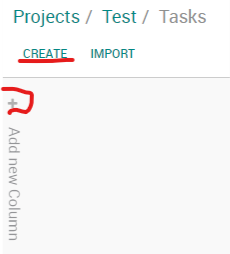
Mit dem Button „Anlegen“, legt man eine Aufgabe im Projekt an. Über das + legt man eine Spalte, d.h. Projektstufe oder auch Lane, an.
Projektstufen / Lanes bearbeiten
Geht man mit der Maus über eine Stufe oben erscheint ein kleines Zahnrad.
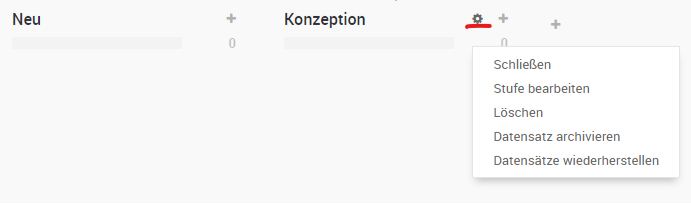
Schließen = Stufe in der Ansicht einklappen
Löschen = Stufe löschen, sind Aufgaben noch in der Stufe, werde diese automatisch in die Stufe „Undefiniert“ geschoben. (mit Nutzerrechten im Modul, kann man nur Lanes löschen in Projekten, in denen man selbst Projektmanager ist)
Datensatz archivieren = Archiviert alle Aufgaben in der Stufe
Datensätze wiederherstellen = hebt die Archivierung aller Aufgaben in der Stufe auf.
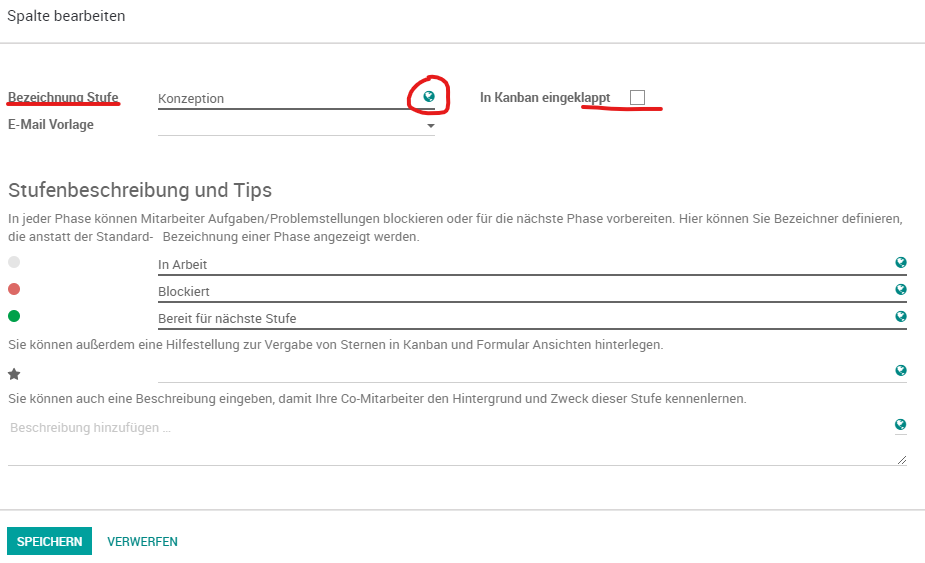
Stufe bearbeiten = Änderung des Namen, der Stufenbeschreibung und Darstellung
Möchte man den Stufennamen bearbeiten, ändert man die „Bezeichnung Stufe“ (Achtung: es wird nur der Name in einer Sprache geändert. Über das Weltkugel Symbol, kann der Stufenname auch auf Englisch und Französisch geändert werden)
Wählt man „In Kanban eingeklappt“, wird die Stufe allen Nutzern immer standardmäßig als eingeklappt angezeigt.
Projektaufgaben
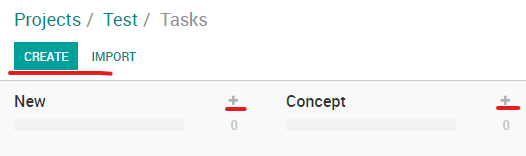
Aufgaben können über den Button „Anlegen“ angelegt werden. Hier wird eine Aufgabe in der ersten Stufe erzeugt. Möchte man eine Aufgabe in einer bestimmten Stufe anlegen, nutzt man das + in der jeweiligen Stufe.
Legt man eine Aufgabe an, ist diese automatisch einem selbst zugewiesen. Man kann Aufgaben jedem Nutzer zuweisen.
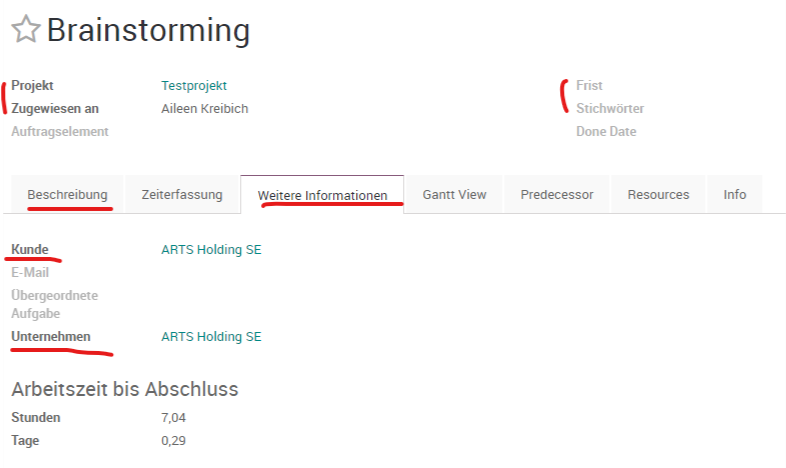
In der Aufgabe ist das jeweilige Projekt ersichtlich. Hierüber kann eine Aufgabe auch in ein anderes Projekt verschoben werden.
ACHTUNG: Projekte sind außer in der Holding, nur in der Firma sichtbar mit der man angemeldet ist. Wechselt man das Projekt einer Aufgabe bitte darauf achten, dass Kunde und Unternehmen richtig gesetzt sind.
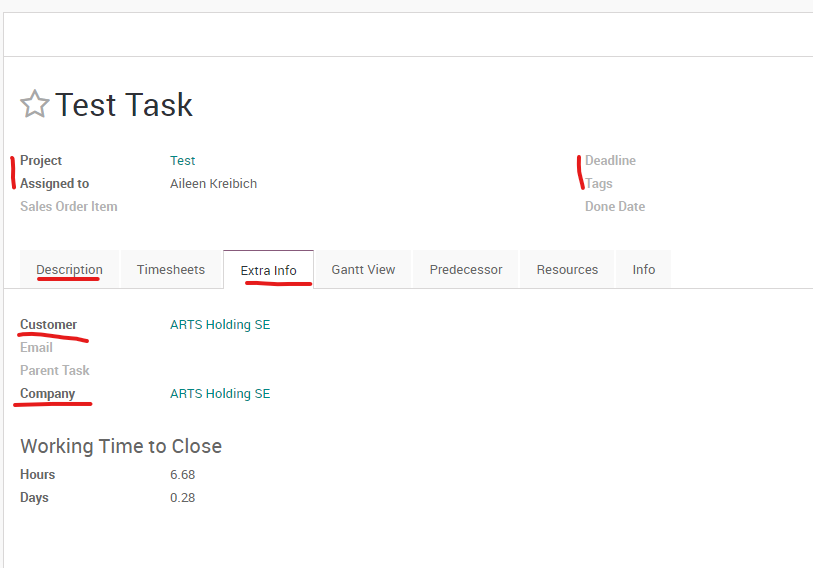
Es kann eine Frist vergeben werden sowie Stichwörter. Mit diesen können Aufgaben leichter auffindbar und sortierbar gemacht werden.
In der Aufgabenbeschreibung können alle denkbaren Informationen hinterlegt werden.
Im Tab „Weitere Informationen“ findet sich der Kunde des Projektes sowie das ARTS Unternehmen, in dem die Aufgabe ersichtlich ist.
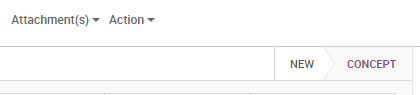
Es können Anhänge an eine Aufgabe gehangen werden.
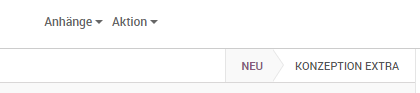
Über „Aktion“ kann eine Aufgabe gelöscht oder dupliziert werden.
Über der Aufgabe findet sich eine sogenannte Breadcrump mit allen Stufen des Projektes. Möchte man die Stufe einer Aufgabe ändern, kann man das hierüber oder in der Gesamtansicht per Drag&Drop.
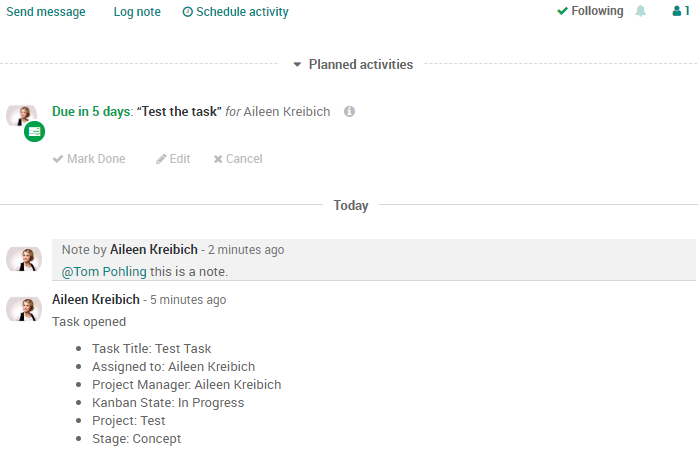
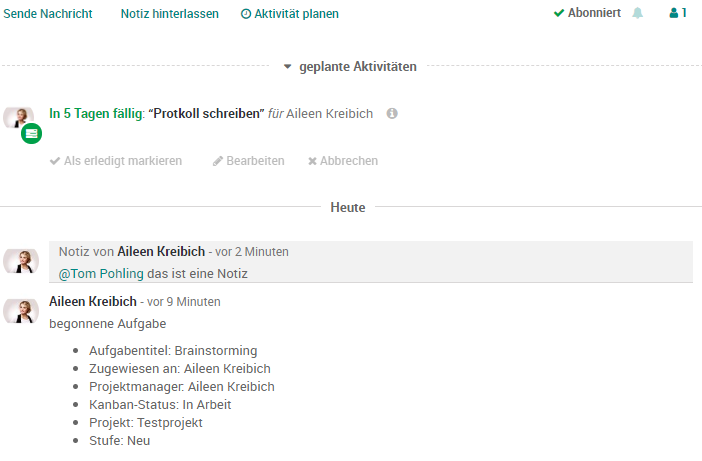
In Aufgaben können im Protokollbereich Nachrichten an alle Aufgabenfollower gesendet werden, Notizen an einzelne Nutzer über die @Name Funktion. Außerdem können sowohl eigene als auch Aktivitäten für andere geplant werden und Follower hinzugefügt werden.
ENGLISH
For the project management of internal and external projects, we use the module Project.
Depending on which company you are registered with, all projects (in the Holding) or only the projects of the respective company are displayed (all other companies).
Create projects
Projects can be created using the "Create" button at the top left.
In the window that opens, simply enter the name of the project and, if desired, a project e-mail address. This can be used to automatically create tasks in the project via mail.
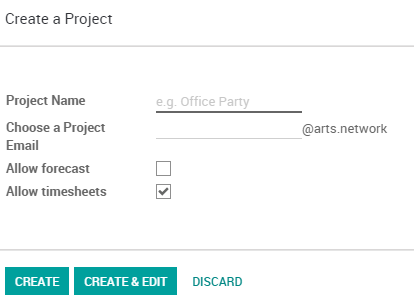
Click "Create" to create the project and return to the general overview. If you click on "Create & Edit", you will be taken directly to the created project.
Please select the customer of the project here. There are 3 types of project customers:
External customer company: Enter name and select. If the customer does not exist yet, please create and insert all data in the contact module .
Internal Customer Company / Intercompany Project: Enter Name and Select
Internal project: Enter the name of the company with which you created the project. For example, an internal Experts project has the customer ARTS Experts.
The "Tasks" button takes you to the task overview.
With the button "Create", you create a task in the project. With the + you create a column, i.e. project level or lane.
Edit Project Stages / Lanes
If you go with the mouse over a step above a small gear appears.
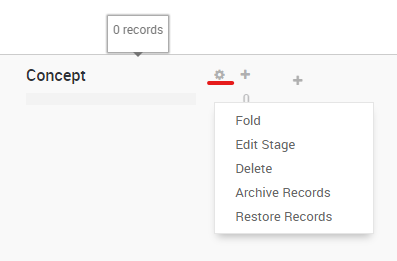
Fold = Close the stage in the view
Delete = Deletes the stage, if tasks are still in it, they are automatically moved to the "Undefined" stage. (with user rights in the module, you can only delete lanes in projects where you are project manager yourself)
Archive records = archives all tasks in the stage
Restore records = cancels the archiving of all tasks in the stage
Edit stage = Change name, stage description and layout.
If you want to edit the level name, change the "stage name" (Note: only the name in one language will be changed. By clicking on the globe symbol, the stage name can also be changed in German and French.)
If you select "Folded in Kanban", the level is always displayed to all users as foldet by default.

Project Tasks
Tasks can be created using the "Create" button. Here a task is created in the first stage. If you want to create a task in a certain stage, use the + in the respective stage.
If you create a task, it is automatically assigned to you. You can assign tasks to any user.
In the task the respective project is visible. This can be used to move a task to another project.
ATTENTION: Projects are only visible in the company you are registered with, except in the holding company. If you change the project of a task please make sure that customer and company are set correctly.
You can set a deadline and tags. With tags, tasks can be made easier to find and sort.
Use the description for all kinds of important information about the task.
The tab "Extra Info" contains the customer of the task as well as the ARTS company in which the task is visible.
Attachments can be attached to a task.
Via "Action" a task can be deleted or duplicated.
Above the task there is a so-called breadcrump with all stages of the project. If you would like to change the stage of a task, you can do this here or in the overall view just using drag & drop.
In tasks, messages can be sent to all task followers in the protocol, notes to individual users via the @Name function. You can also schedule your own activities as well as activities for others and add followers.